How do I use a Red Light Face Mask?
Mark Pearce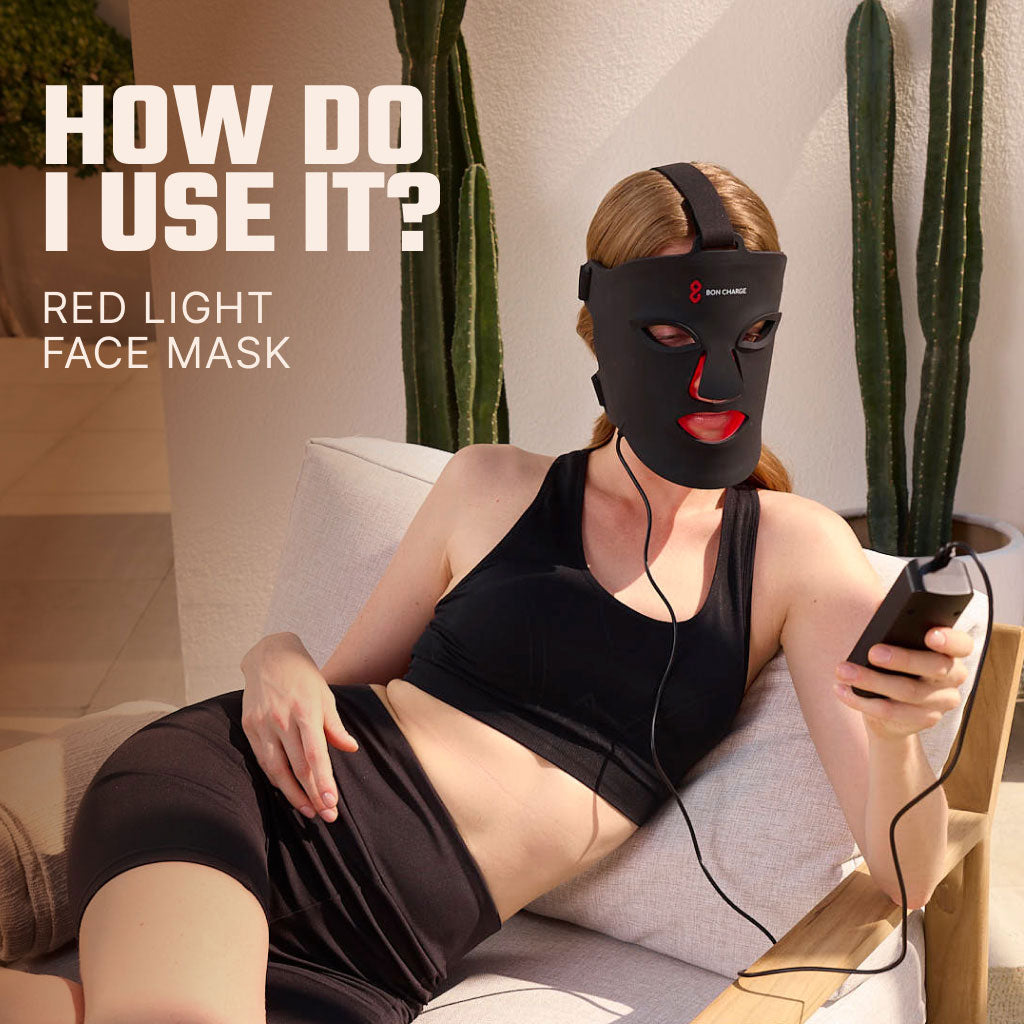
Maybe you're here because you've recently bought a Red Light Face Mask. Perhaps you've had your eye on one and you're researching everything you need to know.
If you're new to using one, or if you want to learn how they work, this blog can help. It'll explain how to wear your Red Light Face Mask and how often you should use it. You'll also pick up some useful tips on how to keep it in good condition.
Before we give you the grand tour, let's gather a quick understanding of what a Red Light Face Mask is.
What's a Red Light Face Mask?
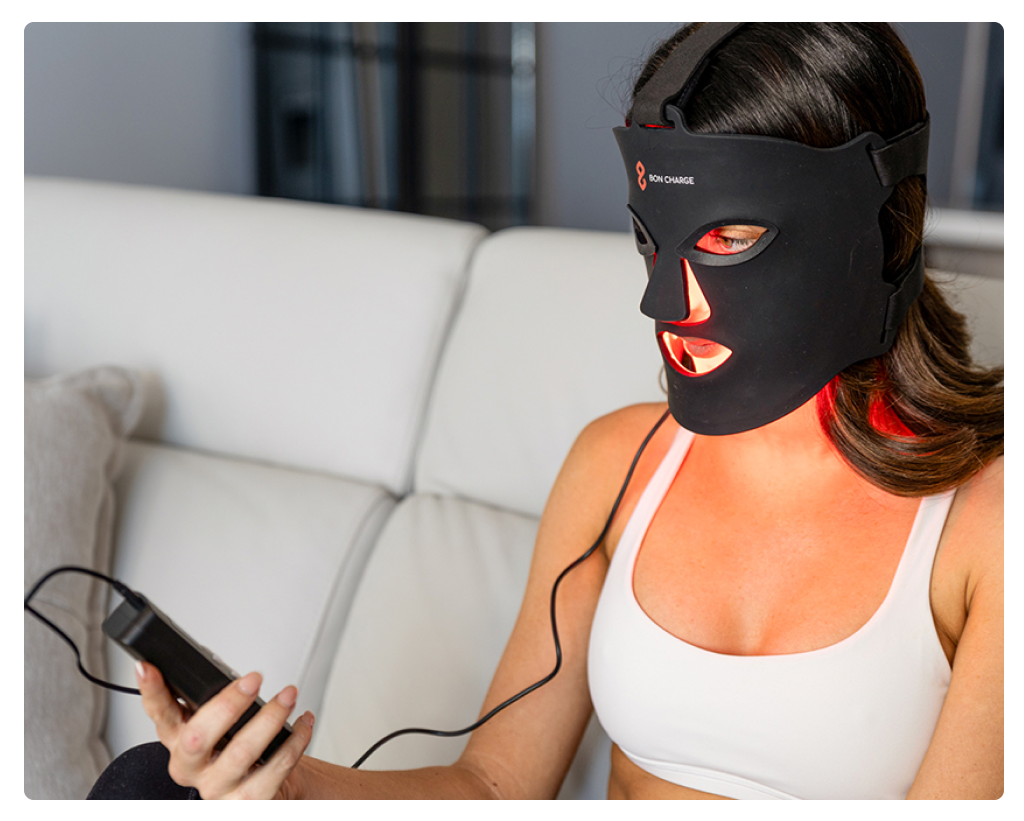
The mask is a skin care red light device that uses optimal wavelengths of both red (630nm) and near-infrared (850nm) light. It's not a blue light emitting LED device. It also shouldn't be confused with a Red Light Therapy device like our Super Max Red Light Therapy Device.
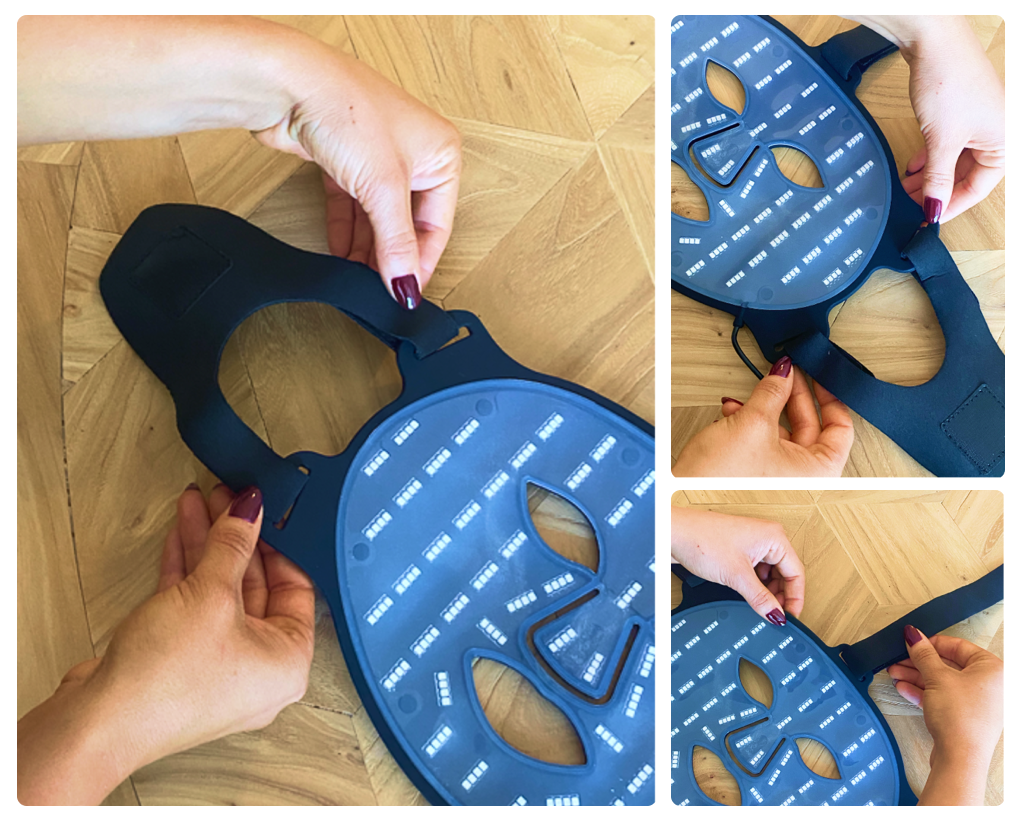
The mask has 240 LEDs (Light Emitting Diodes or LED bulbs) to ensure your whole face benefits from the red light.
The mask has helped thousands of customers to smooth out fine lines and wrinkles, even skin tone and reduce blemishes and dark spots. You can read some of their stories about the appearance of anti aging and skin rejuvenation here.
The mask is lightweight, weighing only 7 ounces (about 200g). It's made from A-grade silicon, so it'll last you many years if you take good care of it.
The mask is flexible and designed to fit comfortably around your face. With easy-to-use straps that go behind and over your head, you can go about your day-to-day while experiencing its benefits.
The mask also comes with a charger, a hand-held controller, and silicone eyepieces for added comfort. Plus, you get a silk bag to store it away when you've finished your session.
Let's now get into how to use the BON CHARGE Red Light Face Mask.
How to use the Red Light Face Mask
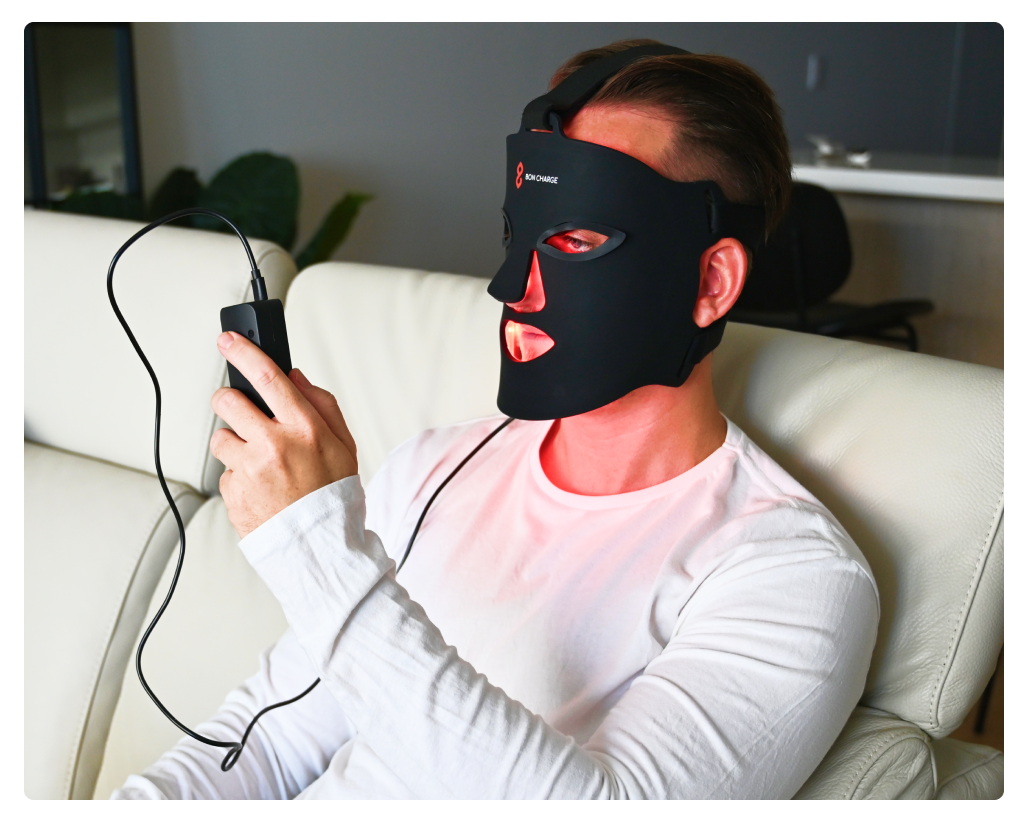
Here's a simple step-by-step guide to using this skincare tool.
1. Remove the mask from its box. Inside the box lid, you'll find a QR code. Additionally, you can scan this code to find instructions on how to use the mask.
2. Pop the hand-held controller on charge and make sure it's fully charged. The charger cord can go into any USB port or you can plug it straight into a wall with a wall adaptor. It should take 1-2 hours to fully charge.
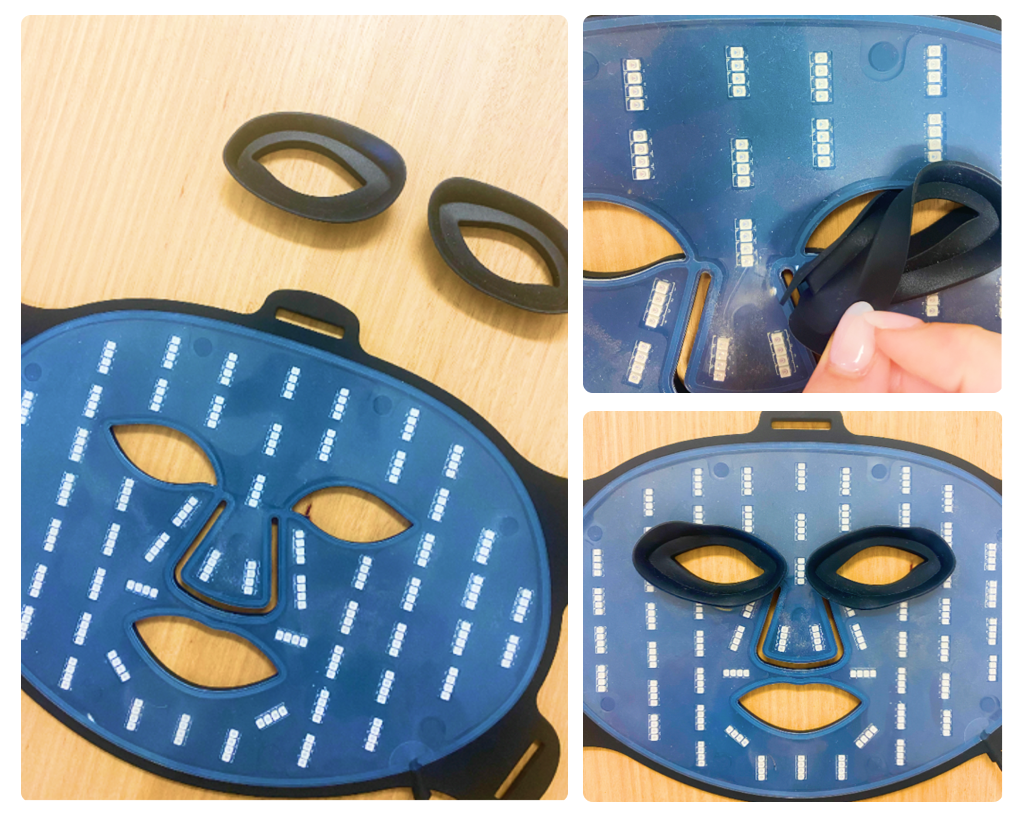
3. Attach the two black straps to either side of the mask. The third strap will attach to the top side of the Face Mask above the eyes, as shown below.
4. Next, place your eye pieces into the eye-holes of the mask. This is for added comfort. They eye pieces ensure no wavelengths of light shine into your eyes.
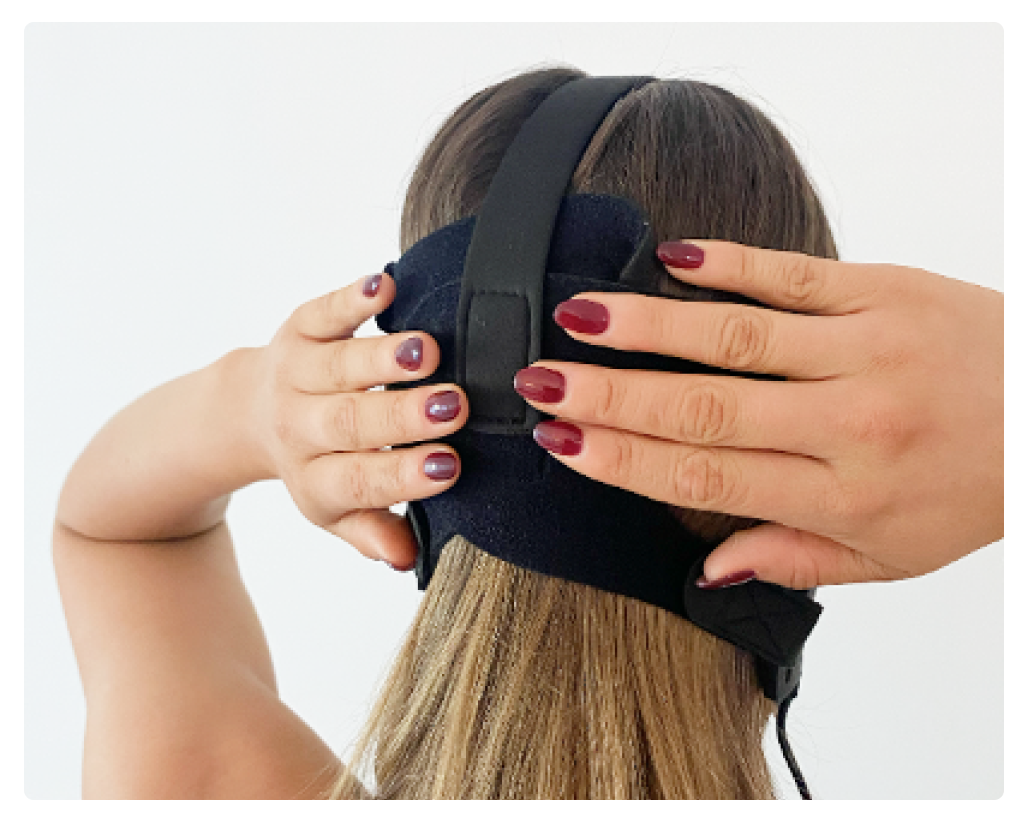
5. Place the mask over your face. Next, fasten the soft cushioned straps with velcro ends around the back of your head. (The velcro will hold the straps firmly in place). Then pull the top strap up and over (from front to back) and fasten.
Adjust until it feels comfortable. The side straps act as ear loops and will sit on your ears for extra support.
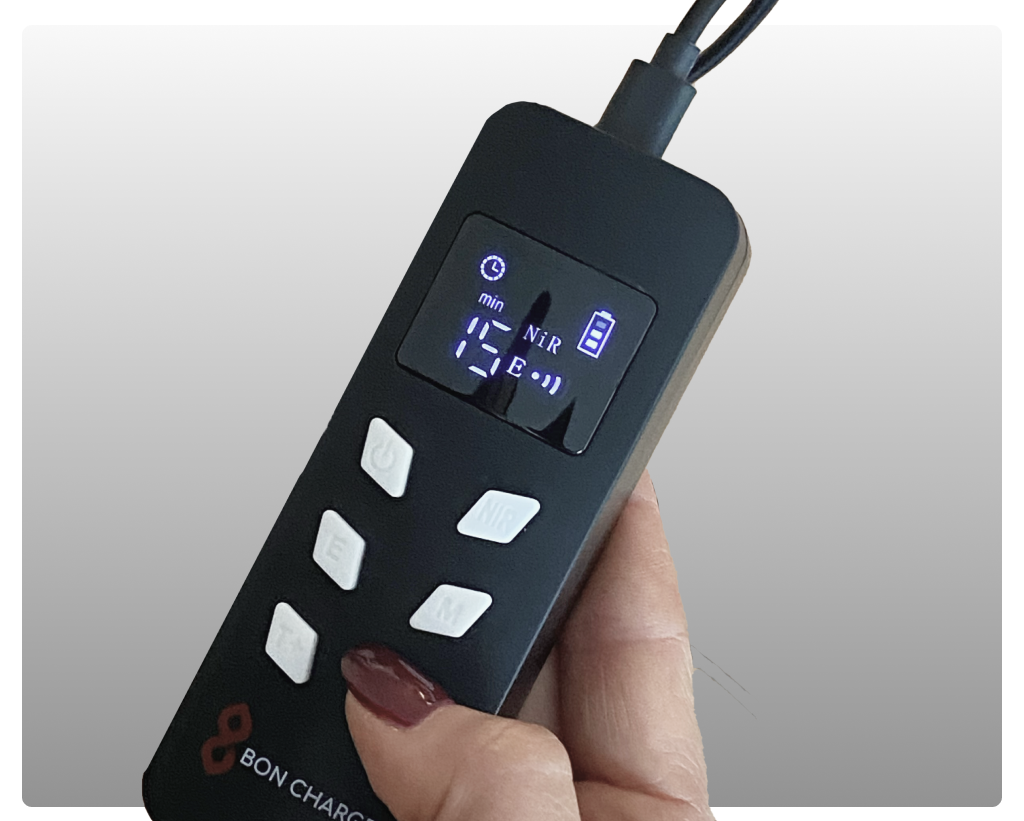
6. Plug your face mask cord into the fully-charged controller. Turn it on by pressing the 'on' button (top left).
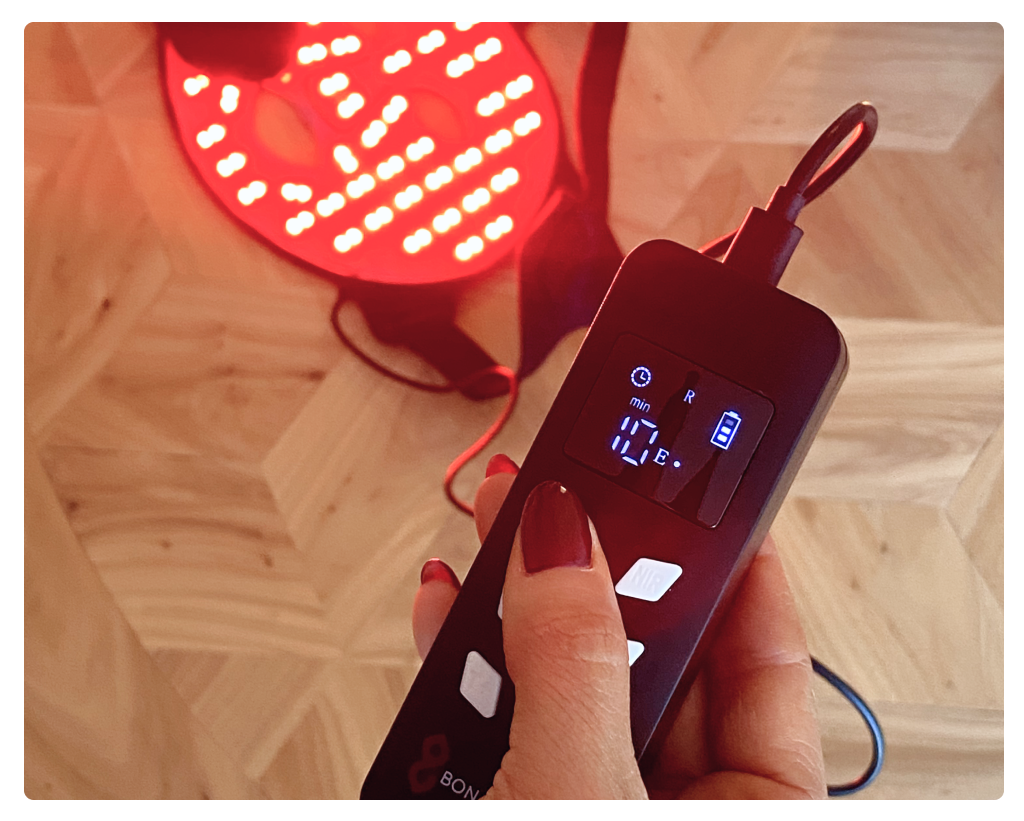
Next, we'll look at the settings.
Red Light Face Mask Settings
On Button: (top left) Press for one second to turn your device on.
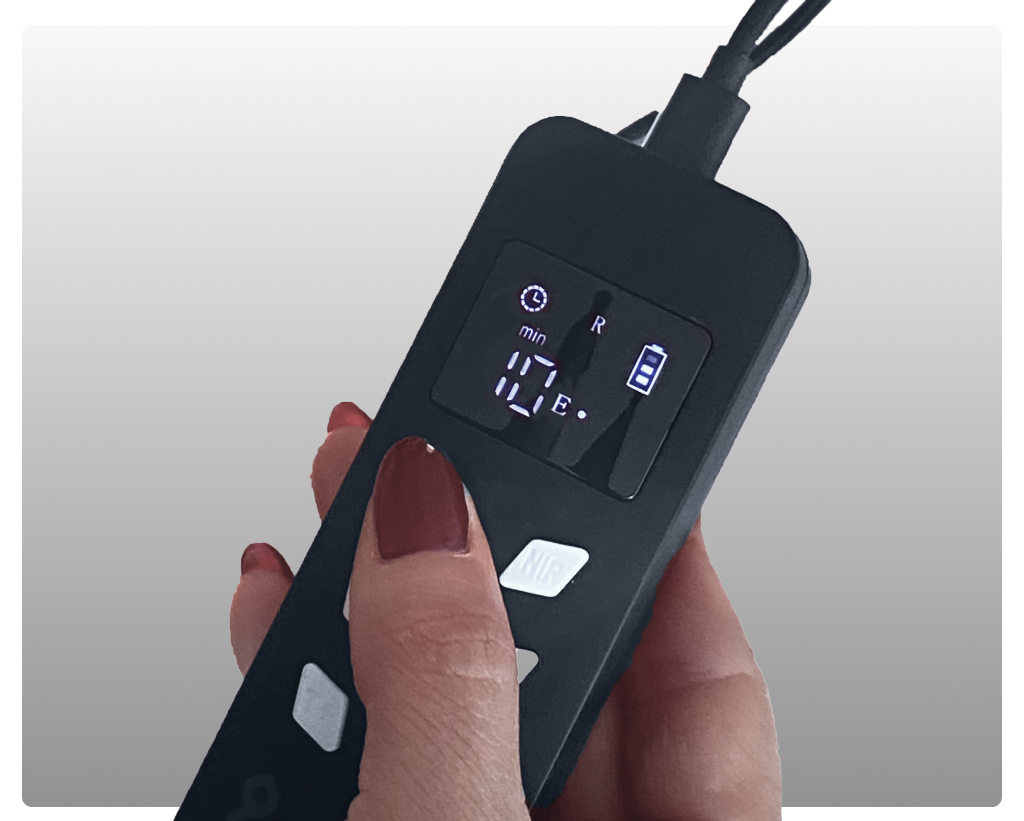
Red Light Button: This is to the right of the on button (top right). Press to experience the red light.
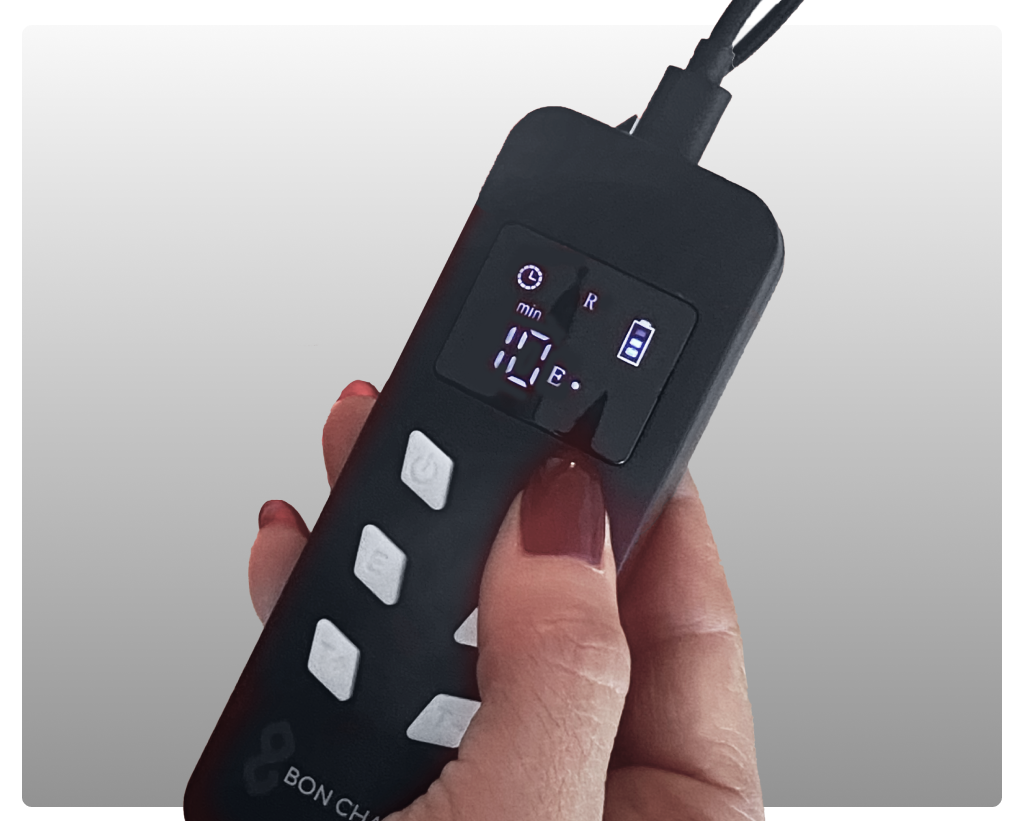
Brightness Button: Underneath the on button (middle left). This will help you adjust the brightness (irradiance). Click once, twice, or three times to go through the different brightness settings.
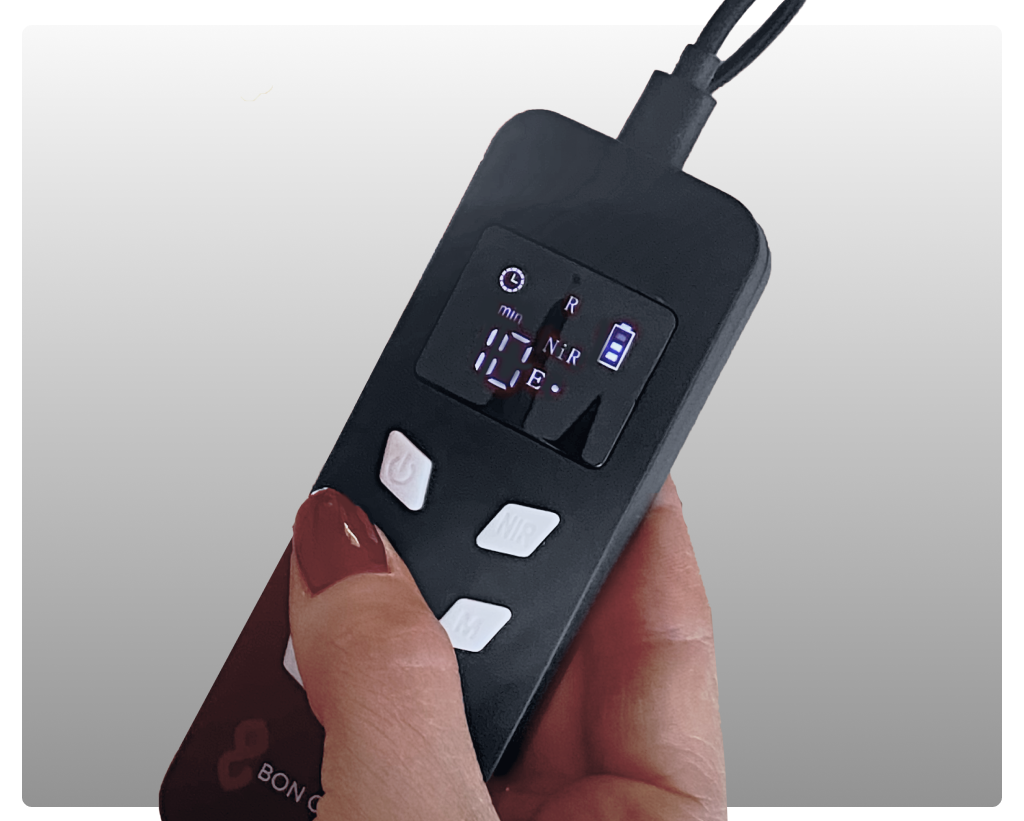
Near Infrared Light Button (NIR): This button is next to the brightness button (middle right), below the Red Light button. When using the NIR light setting, the NIR won’t be visible to the naked human eye. You can see whether it is on or not, by the ‘NIR’ settings on the screen of the remote.
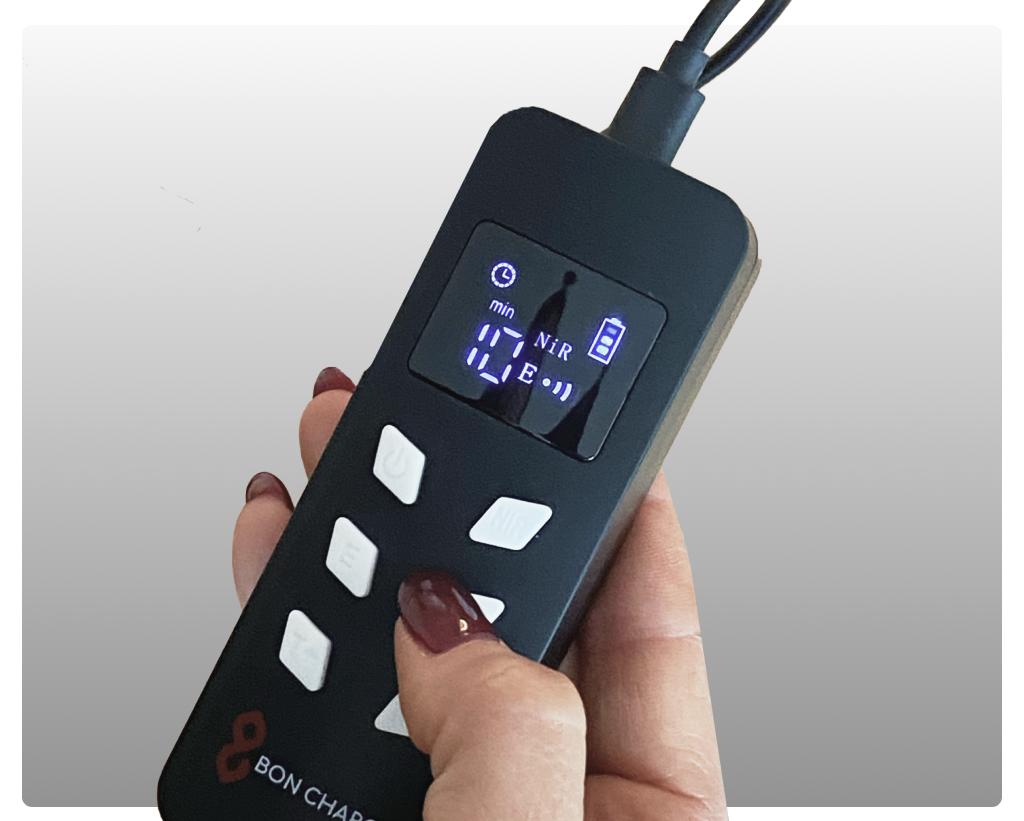
Additional Time Button: This one is underneath the brightness button (bottom left). You can use this function to adjust the time you want to spend using your Red Light Face Mask. You can choose up to 30 minutes, in 5 minute increments.
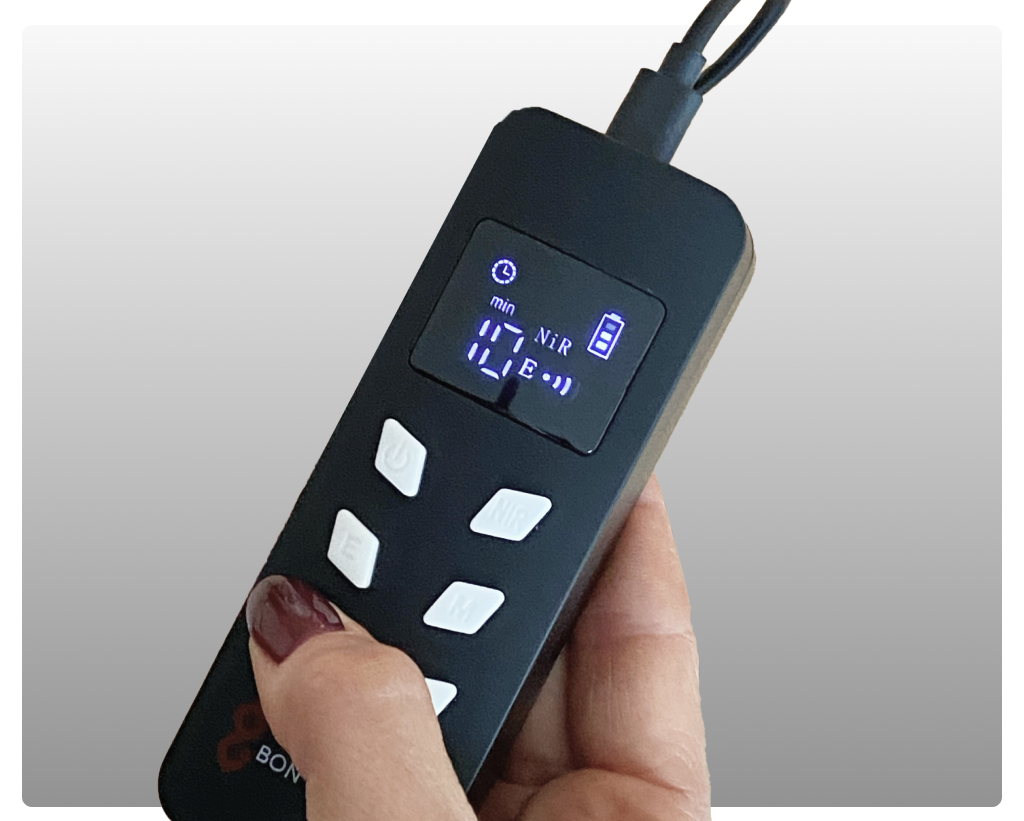
Reduce Time Button: This one is underneath the NIR light button (bottom right). You can use this function to adjust/reduce the time you want to spend using your Red Light Face Mask.
All you need to do now is go about your day as normal.
Once your session comes to an end, the red lights will automatically switch off. Once you've finished your session, simply wipe down with a damp cloth and store your skincare tool away in the silk carry bag. The bag will help to keep it dust-free and preserve its lifespan.
How many times should I use it?
For best results, use it 3 times per week for 10 minutes each time. We suggest starting your sessions with a lower irradiance (brightness), gradually increasing over time.
Most users experience better skin rejuvenation results after only 30 days.
If you want to learn more, you can find everything you need to know in the user manual.
You can also read about a clinical study and the benefits of red light here.
Here are some other useful resources if you're keen to read further: The differences between the Red Light Face Mask and the Face Wand
Thinking of giving your skin that restored and fuller look? Buy your Red Light Face Mask here.


